Save time and frustration by making these changes to your Microsoft Outlook settings, says Karen Roem
The Eight Ways to Customize Outlook article I wrote for Executive Support Magazine made it on the list of Top 10 Most-Read Articles of 2022.
I know they often say that sequels are worse than the original, but here are three more settings that I would recommend you change.
I also include a warning that you might be misinterpreting the three Accept, Tentative and Decline response options.
Let’s save time – and frustration.
Bring Back the Horizontal Outlook Navigation Bar
Speaking of frustration… if you have Outlook 365 and cannot get used to the vertical navigation buttons, you can bring back the classic view and have your Mail, Calendar, People and Tasks buttons horizontally at the bottom.

Here’s how:
- On the File tab, click Options.
- Type the letter A twice (or click Advanced).
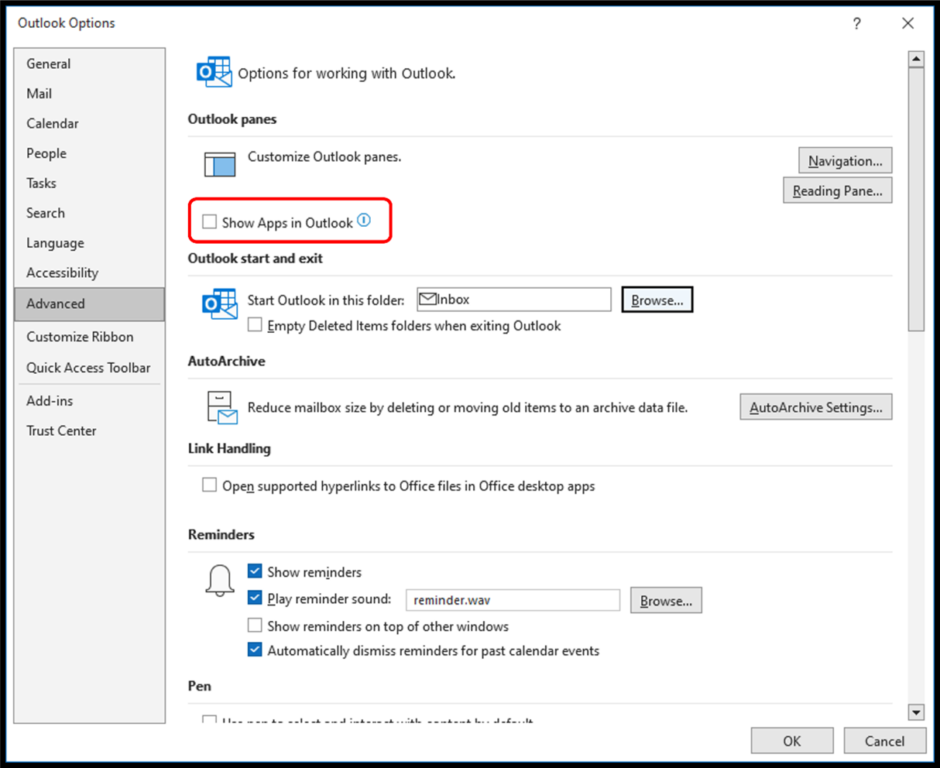
- Under Outlook panes, untick Show Apps in Outlook. (If you don’t see that check box, you still have your classic navigation bar.)
- Restart Outlook.
Open Your Manager’s Calendar Automatically When You Open Outlook
If you start your day by checking your manager’s Outlook calendar, you might want to open it by default, rather than your inbox.
Here’s how:
- On the File tab, click Options.
- Type the letter A twice (or click on Advanced).
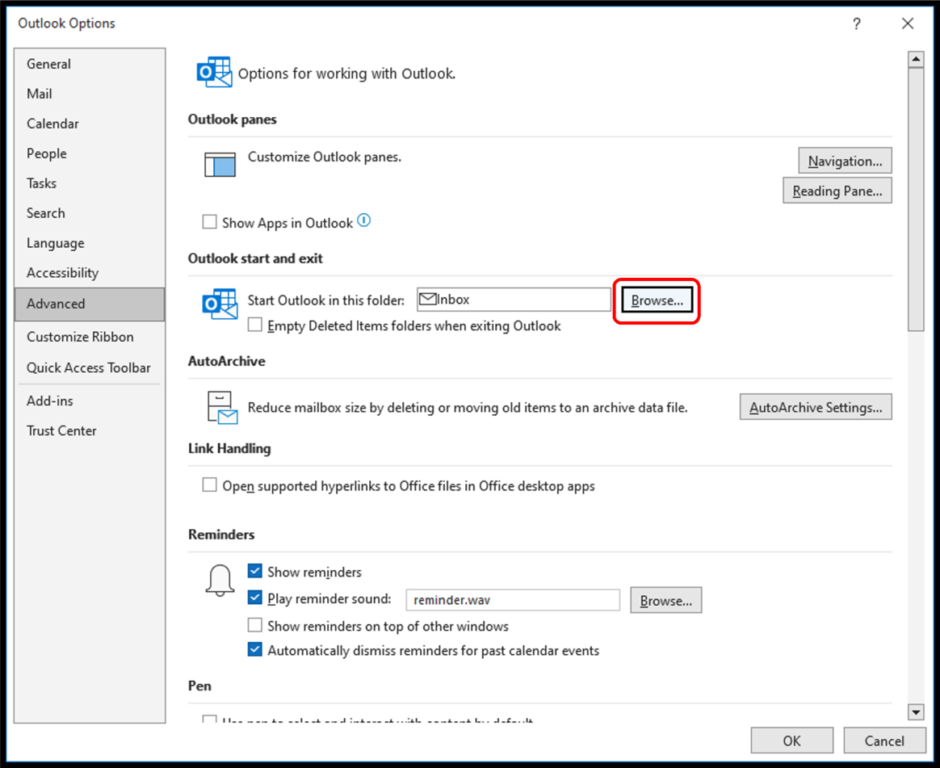
- Under Outlook start and exit, click Browse.
- In the Select Folder dialog box, navigate to your manager’s account and select Calendar.

- Click OK twice.
Next time you open Outlook, your manager’s calendar will be displayed by default.
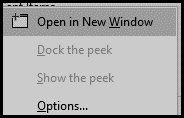
If you have two monitors, it can be particularly helpful to have your calendar and inbox open at the same time. Simply right-click the inbox (assuming you have your calendar open) and select Open in New Window.
Drag the new window to the second monitor or press WIN + SHIFT + left arrow or WIN + SHIFT + right arrow. If you normally use WIN + left arrow or WIN + right arrow (without holding down the SHIFT key) to “snap” your windows, you can keep pressing it to cycle through both monitors.
Automatically Search All Mail Folders in All Mailboxes
If Outlook is an overstuffed, out-of-control beast, it can be hard to find that needle in a haystack. Perhaps you work with shared mailboxes and have set up sub-folders but cannot remember where the message is stored.
Did you know you can change your default setting to search all mailboxes, not just your current folder?
Here’s how:
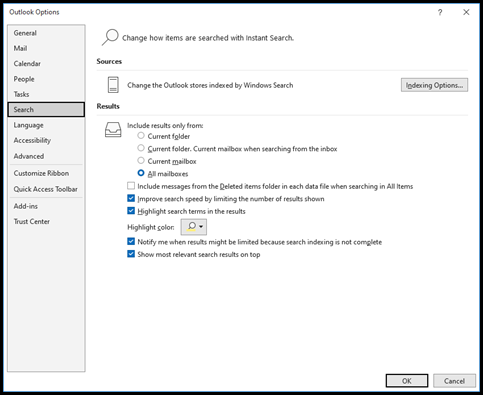
- On the File tab, click Options.
- Type the letter S (or click on Search).
- Under Results, select the All mailboxes radio button.
- Press ENTER or click OK.
No, You’re Not Doing the Organiser a Favour!
If you’ve ever organised a big happening using Outlook’s meeting request, you’ve probably had to wade through lots of RSVPs.
Last time, I recommended changing the Outlook > Mail > Tracking setting so that all responses that don’t contain comments will be deleted automatically. This is obviously very useful when you’re the organiser. But what if you are the recipient?
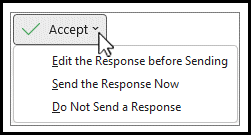
Do you select Do Not Send a Response when you Accept or Decline because you think you are doing the organiser a favour?

You might not realise that if you select Do Not Send a Response, it will add the meeting to your calendar, but the Tracking information for the organiser shows as None and they won’t know whether you will attend. It’s the same as if the organiser unticked Request Responses when they sent the invitation.
Speaking of tracking…how do you summarise your meeting request responses?
Why not copy the status to Excel and use a PivotTable report? No know-how necessary!
Here’s how:
- Open the meeting request, as normal.
- On the Meeting tab, click on the Tracking button’s drop-down arrow and select Copy Status to Clipboard. (Outlook 365 has a separate Tracking tab.)
- Open Excel and press CTRL + V.
- Click anywhere in your data.
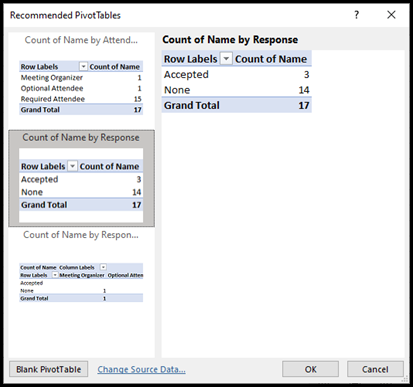
- On the Insert tab, click Recommended PivotTables (the second button from the left).
- Use your downward arrow to flick through the recommendations.
- Click OK.
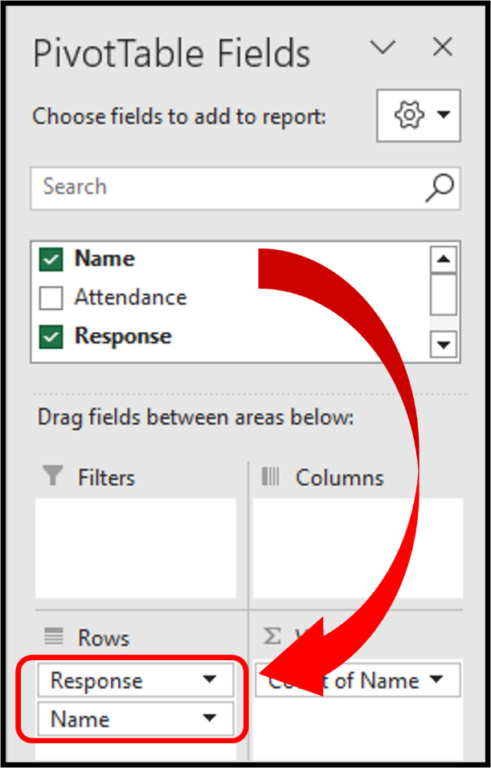
- If you also want to see the names, simply drag Name underneath Response.