
Fiona Walsh explains how to create a professional-looking team slide or organisation chart in PowerPoint
Organisation charts and project team slides can be untidy when headshots come in different shapes and sizes. It’s quick and easy to create team slides with headshots in PowerPoint.
Let’s explore how to generate a slide like the one below:

Background Images
In my example, I use a background image. The benefit of adding an image as a background is that you cannot click on it by mistake and drag it around. Microsoft 365 has stock images for you to use in any of the 365 applications.
You can add a background image from the ‘Design’ tab.
Click on ‘Format Background’ over to the far right of the ribbon, and the ‘Format Background’ sidebar will open.
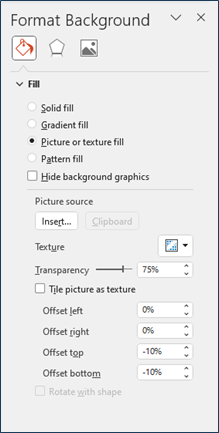
Select ‘Picture or texture fill.’
Now choose ‘Stock Images.’
You can either pick a category at the top of the window or type a word into the search bar. For my slide, I searched for ‘Office.’
Once you have chosen an image, you can change the transparency to suit the slide by altering the percentage of ‘Transparency.’
Inserting a Headshot
Now we are ready to insert your first headshot. We need to start with a square image to make a circular headshot; otherwise, you will end up with an oval.
If your headshot is rectangular, you can crop it to a square.
Insert the image, then right-click to select the ‘Crop’ drop-down menu
Choose ‘Aspect ratio’ and then ‘Square 1:1.’
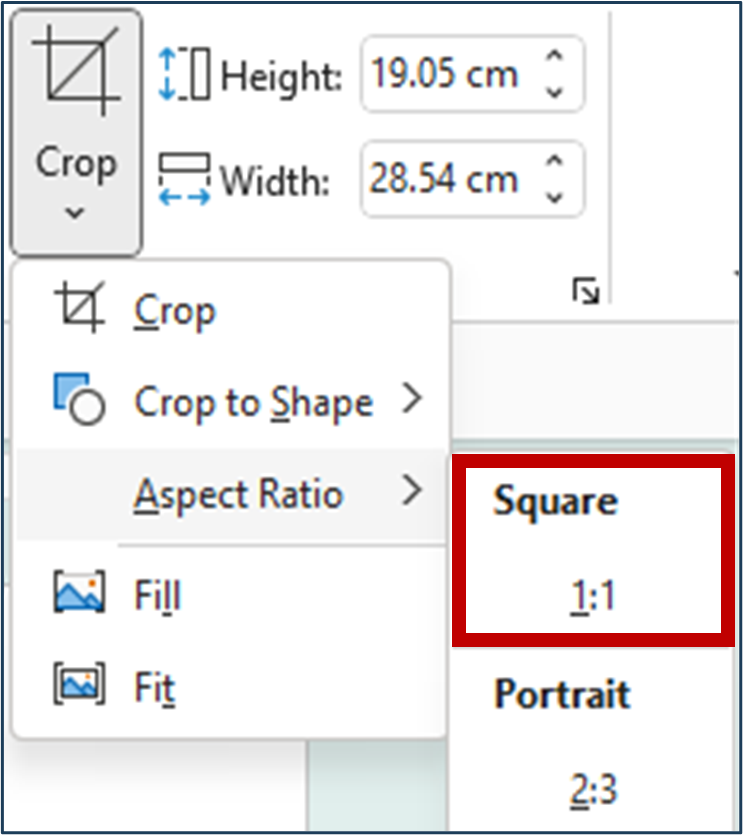
You can slide your image up or down so the person’s face is in the centre, then hit Esc to deactivate the crop function.
Crop the Headshot to a Circle
Next, we can crop the headshot to a circle.
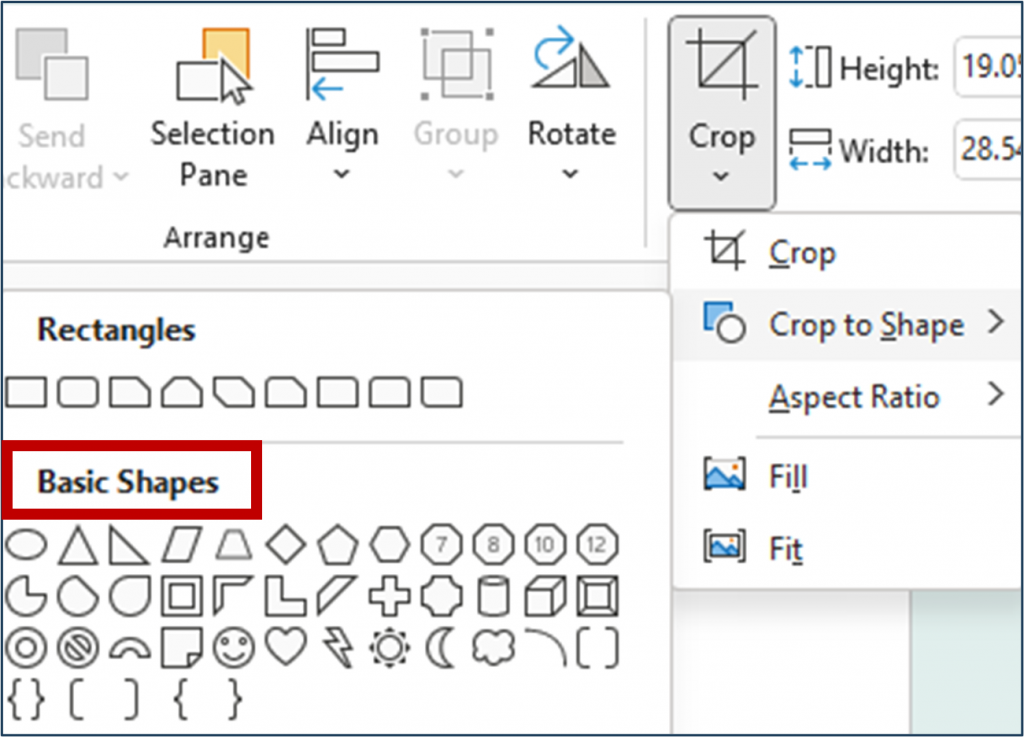
Click on the image and click on the ‘Crop’ drop-down menu again and this time, choose ‘Crop to Shape.’
Under ‘Basic Shapes,’ you’ll see an oval.
Because we have cropped to an aspect ratio of 1:1, we will get a circle when we crop to an oval shape.
Text Boxes
Next, insert two text boxes and add the name in one and the job title in the other.
Format the text; for example, you may want to embolden the person’s name or make the job title italic.
Centrally align these by highlighting both the image and the text boxes and use the ‘Arrange’ menu on the ‘Home’ tab.
Select ‘Align Centre’ from the ‘Arrange’ drop-down menu.
Now group these from the ‘Arrange’ drop-down menu.
Once grouped, you can quickly move them around the page to accommodate more headshots.
The Aspect Ratio
Remember to lock the aspect ratio of the groups. It’s crucial if you need to resize them. Locking the aspect ratio will prevent the images from being distorted, and let’s be honest, nobody wants a stretched headshot!
To lock the aspect ratio, highlight a group or groups and select the ‘Size’ pop-out button from one of the Format tabs.
The ‘Format’ sidebar will open. Tick the ‘Lock aspect ratio’ box.

Duplicating Groups
And now for the clever bit: highlight the group and duplicate it by pressing Ctrl + D.
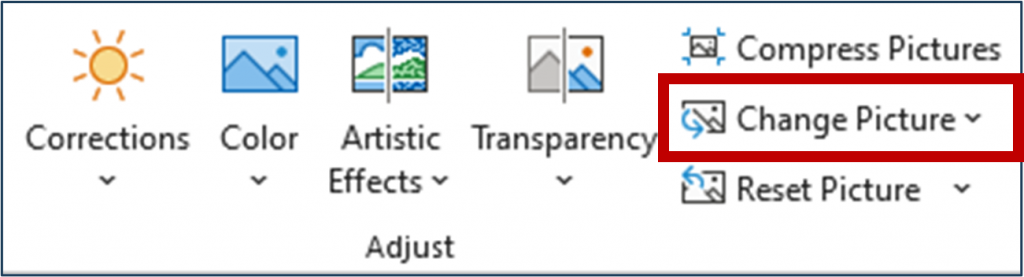
All you need to do now is change the picture and text. To do that, select the image in the new group, and make sure you have only the image selected.
Go to the ‘Picture Format’ tab, and in the ‘Adjust’ section of the ribbon, select the ‘Change Picture’ drop-down menu and navigate to the new headshot.
You may need to move the image slightly to ensure the face is in the circle’s centre.
To do this, highlight the image, click on the ‘Crop’ button and then you are free to drag the image within the cropped circle.
Using Icons
How about using an icon to replace a headshot if you have a vacant position?
You can insert icons from the ‘Insert’ tab.
Search for ‘person’ to find the icon I used in my slide.
Adopting these suggestions will allow you to quickly create a visually appealing slide when you want to present a team or organisational structure, including headshots.